

Rustic Entryway Organiser
- Stacey Thorp

- Nov 2, 2016
- 2 min read

This organizer was simple and very cheap to make and here’s how.
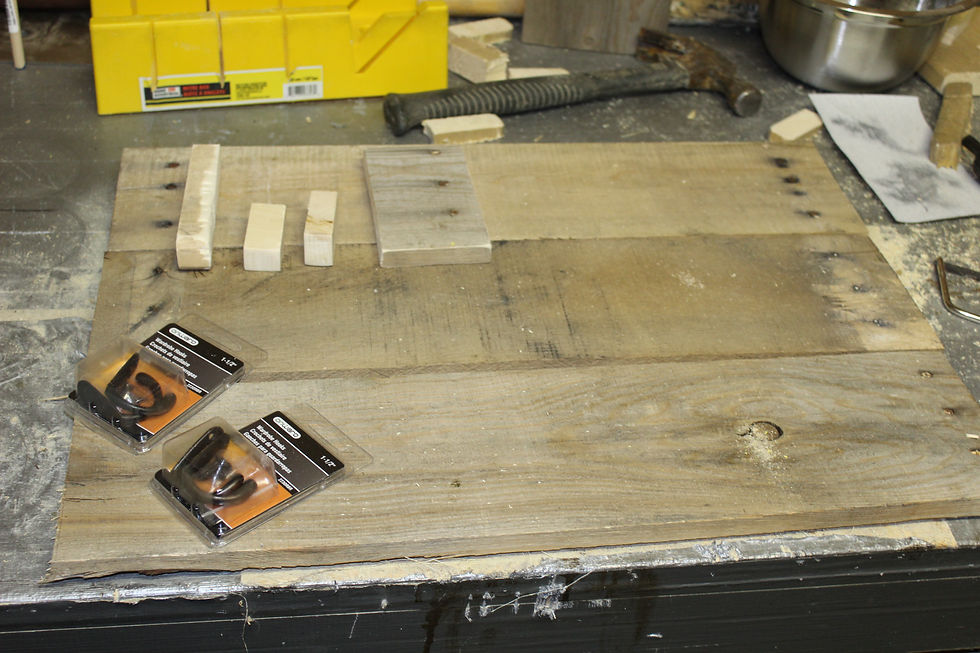
1. I used pallet wood and cut three equal lengths. Then from the back side (I like to leave any nail heads showing on the front side for the rustic look) I wood glued down the sides of each piece and staple gunned them together tight then (with more wood glue) add two pieces of wood across all three pieces you just glued together, one near the top and another near the bottom. Cut the cross pieces a little shorter than the width of the three front pieces so you can’t see it from the front.
2. After that’s dry (probably overnight) you can start adding things to the front I stared by adding a box for pens. With some scrap 1x1 inch pieces of off cuts I cut the sides of my box and for the front piece I used an off cut of the pallet wood the main piece is made from. Mine was about 3 inches long. Using wood glue and nails I hammered nails in from the front of the box through to the main baking piece of wood and from the back I used 4 wood screws to screw through the back into two sides of the box but making sure they were too short to go all the way through to the front piece. I like having the nails showing from the front but you could rely on just the screws as long as they were long enough to reach the front piece of wood without poking through all the way.
3. For the note pad I got it at the dollar store and it’s the kind that has a magnet on the back so I cut a piece of metal the same size as the magnet and used industrial glue (any kind of strong glue that is used for wood and metal would work though)
4. The cork board and white board are also from the dollar store. I got a wood picture frame (its important to get wood so you can nail it on) and a piece of cork half the size of the frame. I marked where the cork would cover over and painted a little watercolor flower border and put it in the frame then glued to cork onto the glass on front of the frame. I removed the stand from the back ran wood glue around the back of the frame and nailed it on the pallet wood on the other side from the note pad. I layed out the pieces before i attached anything to make sure i liked the spacing before i attached anything permanently.

5. I also wanted to have key hooks so from the hardware store I got some nice rustic looking hooks and screwed then on the bottom.
Lastly I drilled to large holes in the top and threaded some rope through. The round knots are just two normal knots pulled very tight and the end cut right at the knot.
And that’s it. It only took a few hours to make, minus the waiting for glue to dry and the lady that got it at the gift exchange was very happy with her rustic organizer.


Comments